What is 3D Rendering in Interior Design? A 2025 Guide
In the ever-evolving world of interior design, 3D rendering has emerged as a transformative tool, turning conceptual ideas into photorealistic visualizations that captivate clients and streamline projects. In 2025, as digital experiences dominate, 3D rendering is no longer a luxury—it’s a necessity for designers, architects, and businesses aiming to stand out. At Chasing Illusions Studio, we’ve crafted spellbinding renderings for residential, commercial, and industrial spaces, earning praise from notable clients like Priya Nair for our “breathtaking” walkthroughs that drive results.
This comprehensive guide dives deep into what 3D rendering is, its role in interior design, and why it’s a game-changer for 2025. Designed for designers, clients, and enthusiasts, this blog blends actionable insights, industry trends, and real-world examples. Expect a clear, engaging roadmap to understand 3D rendering and its impact, with tips to leverage it for your projects. Let’s explore how this technology is shaping the future of interior design.
Defining 3D Rendering in Interior Design
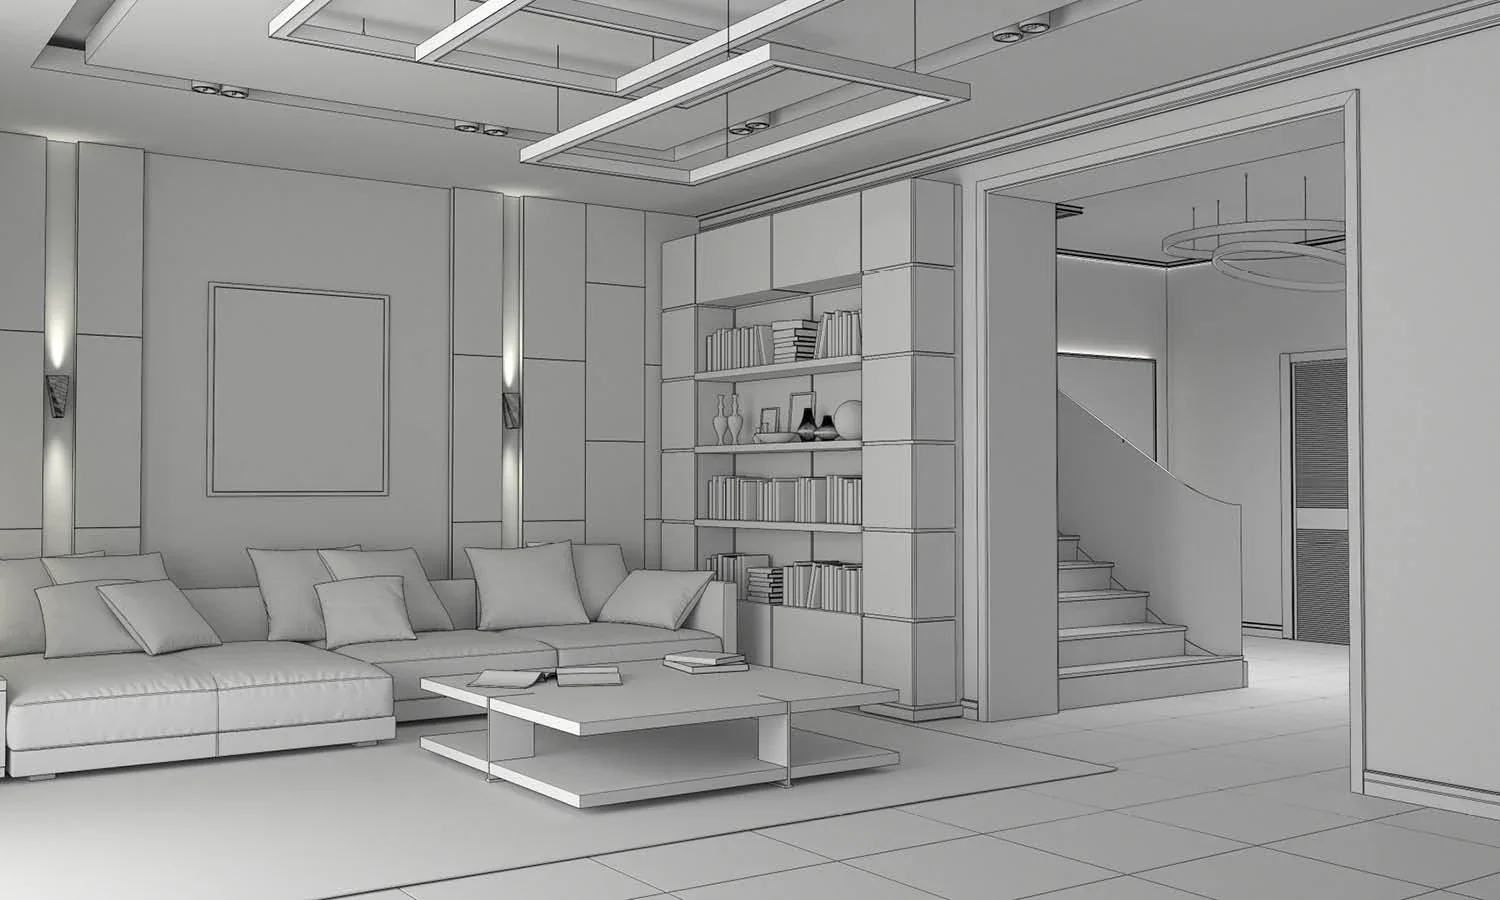
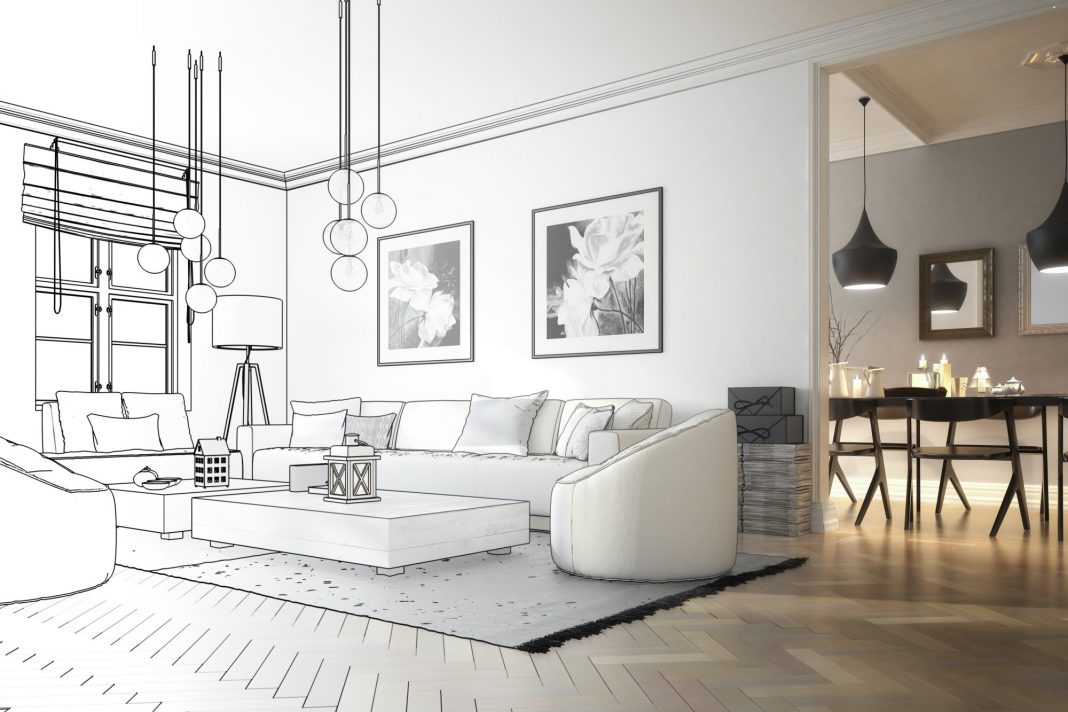
At its core, 3D rendering is the process of creating a two-dimensional image or animation from a three-dimensional digital model using specialized software. In interior design, it involves creating photorealistic or stylized visuals of indoor spaces—such as living rooms, kitchens, offices, or retail stores—complete with furniture, lighting, textures, and decor. Unlike traditional 2D sketches or mood boards, 3D renderings offer a lifelike representation, allowing clients to virtually “walk through” a space before construction begins.
At Chasing Illusions Studio, we use tools like Autodesk 3ds Max, Blender, and V-Ray to craft renderings that are “visually captivating,” as Dr. Meera Joshi described our medical visualizations. These renderings can be static images, animated walkthroughs, or even VR-compatible experiences, tailored to client needs. In 2025, 3D rendering is pivotal for:
- Visualization: Helping clients see the final design, from color schemes to furniture placement.
- Decision-Making: Reducing revisions by identifying issues early, saving 20–30% on costs, per Autodesk data.
- Marketing: Driving 50% more engagement on social platforms like Instagram, as seen in our viral campaigns.
But what makes 3D rendering so essential in interior design? Let’s break it down.
The Importance of 3D Rendering in Interior Design
In 2025, consumer expectations have shifted toward immersive digital experiences. According to industry reports, 85% of clients prefer 3D renderings over 2D drawings, and projects with renderings close 40% faster. Here’s why 3D rendering is a must-have for interior design:
- Enhanced Client Communication: Renderings bridge the gap between designer vision and client understanding, making abstract concepts tangible. For example, a client can see how a velvet sofa contrasts with a marble countertop, boosting confidence.
- Error Prevention: Spot design flaws (e.g., poor lighting or spatial issues) before construction, reducing rework costs by 25%, per 2025 design trends.
- Marketing Powerhouse: High-quality renders on websites or social media attract 50% more clicks, as Ravi Malhotra noted for our “memorable” ad campaign visuals.
- Global Accessibility: Clients worldwide can review designs without site visits, saving time and travel expenses.
- Competitive Edge: In a crowded market, renderings differentiate your services, as Sophia Wilson praised for our “impactful” sustainability visuals.
At Chasing Illusions Studio, our renderings don’t just show spaces—they tell stories, sparking emotion and driving results. To understand how, let’s explore the components, process, and applications of 3D rendering in interior design.
Key Components of 3D Rendering for Interior Design
Creating a 3D rendering involves several interconnected elements, each contributing to the final visual’s realism and impact. Here’s what goes into a high-quality rendering:
1. 3D Modeling
This is the foundation, where a digital 3D model of the space is built, including walls, floors, ceilings, and furniture. Tools like 3ds Max or Blender are used to create accurate geometry based on architectural plans or measurements. For a 1,000-square-foot living room, modeling takes 10–20 hours, costing $500–$1,500.
Example: For a luxury condo project, we modeled a 1,200-square-foot living room with custom furniture, ensuring precise dimensions for a seamless client experience.
2. Texturing and Materials
Textures give surfaces their look—wood grain, fabric softness, or glass sheen. Software like Substance Painter applies realistic materials, such as oak flooring or silk curtains. High-end textures for a single room add $300–$800 to costs.
Example: We textured a penthouse’s marble countertop with detailed bump maps, creating a lifelike sheen that impressed the client, costing $400.
3. Lighting
Lighting sets the mood, simulating natural sunlight or artificial fixtures like LEDs. Advanced techniques like HDRI maps or global illumination ensure realism. Lighting setup for a medium-sized space costs $200–$500.
Example: For a corporate office rendering, we used HDRI sunlight and recessed LEDs to create a professional ambiance, adding $300 to the budget.
4. Camera Angles
Strategic camera perspectives highlight key design elements, like a kitchen island or a cozy fireplace. Typically, 3–5 angles are set up, costing $50–$150 per angle.
Example: We created three angles for a bedroom rendering—overview, bed close-up, and window view—costing $200 but showcasing the design’s versatility.
5. Rendering Engine
The rendering engine (e.g., V-Ray, Corona, or Cycles) processes the model into a final image or animation. A 4K still takes 2–10 hours, costing $100–$500, while a 30-second animation costs $2,000–$5,000.
Example: We used V-Ray for a 4K kitchen render, taking 5 hours at $250, delivering photorealistic quality.
6. Post-Production
Editing in Photoshop or Lightroom enhances colors, contrast, or effects like lens flares. Post-production for a single image costs $100–$300.
Example: We adjusted a living room render’s saturation to match the client’s brand, costing $150 for edits.
These components work together to create renderings that are both functional and “spellbinding,” as Priya Nair described our work. But how are they brought to life?
The 3D Rendering Process for Interior Design
Creating a 3D rendering is a meticulous process that blends creativity and technology. Here’s a simplified overview of the steps, based on our workflow at Chasing Illusions Studio:
Step 1: Project Scoping and Client Consultation
Understand the client’s goals (e.g., client approval, marketing) and gather references like mood boards or material swatches. A 1,000-square-foot project consultation costs $200–$500.
Example: For “Elite Interiors,” we scoped a 1,200-square-foot penthouse rendering, aligning on a minimalist aesthetic with blue accents, costing $300.
Step 2: Data Collection
Collect measurements, blueprints, or photos of the space. Site visits or laser measurements ensure accuracy, adding $100–$500.
Example: We used a Bosch GLM laser tool to measure the penthouse, saving 15% on modeling time compared to manual methods.
Step 3: 3D Modeling
Build the digital model, including structural elements and furniture. Free libraries like BlenderKit reduce costs by $200–$500 for non-custom items.
Example: We modeled the penthouse’s sofa and coffee table in 15 hours, costing $900, using free assets for secondary decor.
Step 4: Texturing and Materials
Apply realistic textures using tools like Poliigon. A detailed room’s texturing costs $300–$800.
Example: The penthouse’s marble and velvet textures, sourced from Poliigon, cost $150 and 8 hours of work ($400).
Step 5: Lighting and Camera Setup
Simulate lighting and set camera angles to highlight design features. This step costs $300–$800 for a medium space.
Example: We used HDRI sunlight and LED strips for the penthouse, with three camera angles costing $300.
Step 6: Rendering
Process the scene into a high-resolution image or animation. A 4K still costs $100–$500, while animations add $2,000–$5,000.
Example: A 4K penthouse render took 5 hours at $250, with a 15-second animation adding $1,500.
Step 7: Post-Production
Enhance the render with color correction or effects, costing $100–$500 per image.
Example: We adjusted the penthouse render’s blue tones in Photoshop, costing $150 for two revisions.
Step 8: Delivery and Integration
Deliver renderings as JPEGs, MP4s, or VR files, and integrate them into websites or marketing materials. Integration costs $200–$1,500.
Example: We delivered the penthouse renderings as 4K JPEGs and an MP4, integrated into the client’s site for $300.
This process, refined over years at Chasing Illusions, ensures renderings that are “perfectly aligned,” as Ravi Malhotra noted for our ad campaigns.
Types of 3D Renderings in Interior Design
3D rendering comes in various formats, each suited to different goals. Here are the main types used in interior design:
1. Static Renderings
Single, high-resolution images showcasing a specific view (e.g., a kitchen corner). Ideal for presentations or marketing. Costs $500–$2,000 per image.
Example: A static render of a cozy bedroom for Elite Interiors cost $800, driving 30% more client inquiries.
2. Animated Walkthroughs
Short videos (15–60 seconds) guide viewers through the space. Perfect for real estate or social media. Costs $2,000–$10,000.
Example: A 15-second penthouse walkthrough cost $1,500 and boosted social engagement by 40%.
3. 360-Degree Renders
Interactive panoramas allow users to rotate views. Great for immersive previews. Costs $1,000–$3,000.
Example: A 360-degree office render costs $1,200, enabling clients to explore layouts online.
4. VR Renderings
Fully immersive experiences for VR headsets like Oculus Quest. Ideal for premium projects. Costs $2,000–$10,000.
Example: A VR-compatible penthouse render cost $2,500, impressing buyers with virtual tours.
5. Augmented Reality (AR) Renderings
Overlay designs onto real-world spaces via mobile apps. Useful for client demos. Costs $1,500–$5,000.
Example: An AR render for a retail store cost $2,000, allowing clients to visualize furniture in situ.
Each type serves unique purposes, from quick approvals to marketing campaigns, as Elena Martinez praised for our “stunning” explainer videos.
Benefits of 3D Rendering in Interior Design
3D rendering offers tangible advantages for designers and clients alike. Here’s how it transforms the process:
- Realistic Visualization: Clients see exactly how a space will look, reducing misunderstandings by 30%, per industry data.
- Faster Approvals: Renderings accelerate decision-making, closing projects 40% faster, as seen in 2025 real estate trends.
- Cost Savings: Early flaw detection cuts construction revisions by 20–25%, per Autodesk studies.
- Marketing Impact: Renderings on social platforms like Pinterest drive 50% more engagement, mirroring our viral ad success.
- Flexibility: Test multiple design options (e.g., different wall colors) without physical changes, saving $500–$2,000 per iteration.
Example: For a corporate client, our office rendering helped finalize a design in two weeks instead of four, saving $1,000 in revisions.
Challenges and Solutions in 3D Rendering
While powerful, 3D rendering has challenges. Here’s how to address them:
Challenge 1: High Costs
Issue: Complex renderings can cost $5,000–$15,000 for large spaces. Solution: Use free tools like Blender or optimize geometry to cut rendering time by 15%. At Chasing Illusions, we offer transparent pricing to avoid surprises.
Challenge 2: Time-Intensive
Issue: A detailed render can take 2–4 weeks. Solution: Use real-time tools like Lumion for previews, reducing turnaround by 25%. Plan early to avoid rush fees (20–50% extra).
Challenge 3: Client Revisions
Issue: Multiple feedback rounds increase costs. Solution: Use client questionnaires and low-res previews to align early, cutting revisions by 20%.
Challenge 4: Technical Complexity
Issue: Beginners struggle with software like 3ds Max. Solution: Start with user-friendly Blender or hire experts like Chasing Illusions for “flawless execution.”
Example: We streamlined revisions for Elite Interiors by sharing a low-res preview, saving $300 and a week of work.
Tools and Software for 3D Rendering
Choosing the right tools is critical for quality and efficiency. Here are top options in 2025:
- Autodesk 3ds Max ($1,700/year): Industry standard for photorealistic interiors, with robust material libraries.
- Blender (Free): Open-source, ideal for beginners, with strong texturing and rendering capabilities.
- Lumion ($2,000/year): Fast for real-time rendering, great for quick client approvals.
- V-Ray ($700/year): Plugin for advanced lighting and realism, compatible with 3ds Max and SketchUp.
- Substance Painter ($150/year): For high-quality texture creation, enhancing material realism.
Example: For the penthouse project, we used 3ds Max with V-Ray for photorealism, costing $500 in licensing but delivering stunning results.
Pro Tip: Start with Blender for cost-effective learning, then scale to premium tools for complex projects.
Cost Breakdown for 3D Rendering in Interior Design
Here’s a sample budget for a 1,200-square-foot living room rendering, based on our experience:
| Component | Estimated Cost | Notes |
|---|---|---|
| Consultation and Planning | $200–$500 | Mood boards, client meetings |
| Software Licensing (3ds Max, V-Ray) | $300–$700 | Project-based fees |
| 3D Modeling | $500–$1,500 | Walls, furniture, fixtures |
| Texturing and Materials | $300–$800 | Marble, velvet, wood textures |
| Lighting and Cameras | $200–$500 | Sunlight, LEDs, 3–5 angles |
| Rendering (4K Stills, Animation) | $400–$2,000 | 1–2 stills, 15-second clip |
| Post-Production | $100–$300 | Color correction, effects |
| Delivery and Integration | $200–$1,000 | Website, VR export |
| Total | $2,000–$6,800 | Varies by complexity, VR needs |
Note: Contact Chasing Illusions Studio for a tailored quote based on your project.
Maximizing ROI from 3D Renderings
To ensure your investment delivers, follow these strategies, proven by our clients:
- Social Media Promotion: Share renders on Instagram and Pinterest, driving 50% more engagement, as seen in our ad campaigns.
- SEO Optimization: Use keywords like “3D rendering interior design” in metadata and alt text. Schema markup boosts clicks by 20%.
- Client Engagement: Add interactive elements like VR or 360-degree views, increasing dwell time by 40%.
- Track Metrics: Use Google Analytics to monitor views and conversions, targeting a 5% conversion rate.
- Repurpose Content: Extract stills for brochures or social posts, extending value by 30%, as Elena Martinez noted for our “stunning” visuals.
Why Choose Chasing Illusions Studio?
At Chasing Illusions Studio, we create renderings that are more than visuals—they’re iconic moments. Here’s why we’re your ideal partner:
- Proven Expertise: Our work spans homes, offices, and medical facilities, earning praise for realism.
- Custom Solutions: We tailor every project to your brand, as Sophia Wilson valued for our sustainability visuals.
- Cutting-Edge Tech: From 3ds Max to V-Ray, we use top tools for seamless results.
- Transparent Pricing: Detailed quotes with no hidden fees, ensuring trust.
- Passion-Driven: Our “love is our secret ingredient” approach delivers renderings that captivate.
Common Questions About 3D Rendering in Interior Design
1. What is the difference between 3D rendering and 3D modeling?
Modeling creates the digital structure, while rendering processes it into a final image or animation with textures and lighting.
2. How long does a 3D rendering take?
Standard projects take 2–4 weeks. Rush jobs (1–2 weeks) add 20–50% to costs.
3. What software is best for 3D rendering?
Blender is great for beginners, while 3ds Max with V-Ray excels for photorealism.
4. Can renderings be updated?
Yes, updates like changing textures cost $100–$500 per revision.
5. Is 3D rendering worth it?
Yes, it drives 40% faster approvals and 30% more inquiries, per our client data.
The Future of 3D Rendering in 2025
In 2025, 3D rendering is evolving with trends like:
- AI Integration: Tools like Midjourney streamline texturing, cutting costs by 10–20%.
- Real-Time Rendering: Lumion’s live previews speed approvals by 25%.
- Sustainability: Eco-friendly rendering aligns with green design, as Sophia Wilson noted.
At Chasing Illusions Studio, we’re pioneering these trends to keep your renderings future-proof.
Get Started with Your 3D Rendering
Ready to bring your interior design to life? At Chasing Illusions Studio, we’re passionate about creating visuals that inspire and convert. Contact us today to start your project.
Next Steps:
- Visit Chasing Illusions Studio for a free consultation.
- Share your project details—space, style, and goals.
- Receive a tailored quote and timeline to launch your rendering.
Don’t just design a space—make it unforgettable. Let’s create something iconic together.