

A 3D floor plan walkthrough helps clients visualize layouts, test design ideas, and market properties far more effectively than a static floor plan or photo set. Whether you're a developer, architect, or interior designer, understanding the process — even if you plan to partner with a studio rather than DIY it — helps you brief a project more effectively and know what to expect at each stage.
Why Create a 3D Floor Plan Walkthrough
Immersive visualization — clients can effectively "walk" through a property, getting a real sense of flow and scale that a flat floor plan can't convey.
Marketing power — a well-made virtual tour tends to generate more genuine engagement than static listings alone, since it gives prospective buyers a much clearer sense of the actual space.
Design precision — testing layouts and materials virtually catches issues before they become expensive changes during construction.
Time savings — reduces the need for in-person visits, particularly valuable for off-plan or remote buyers.
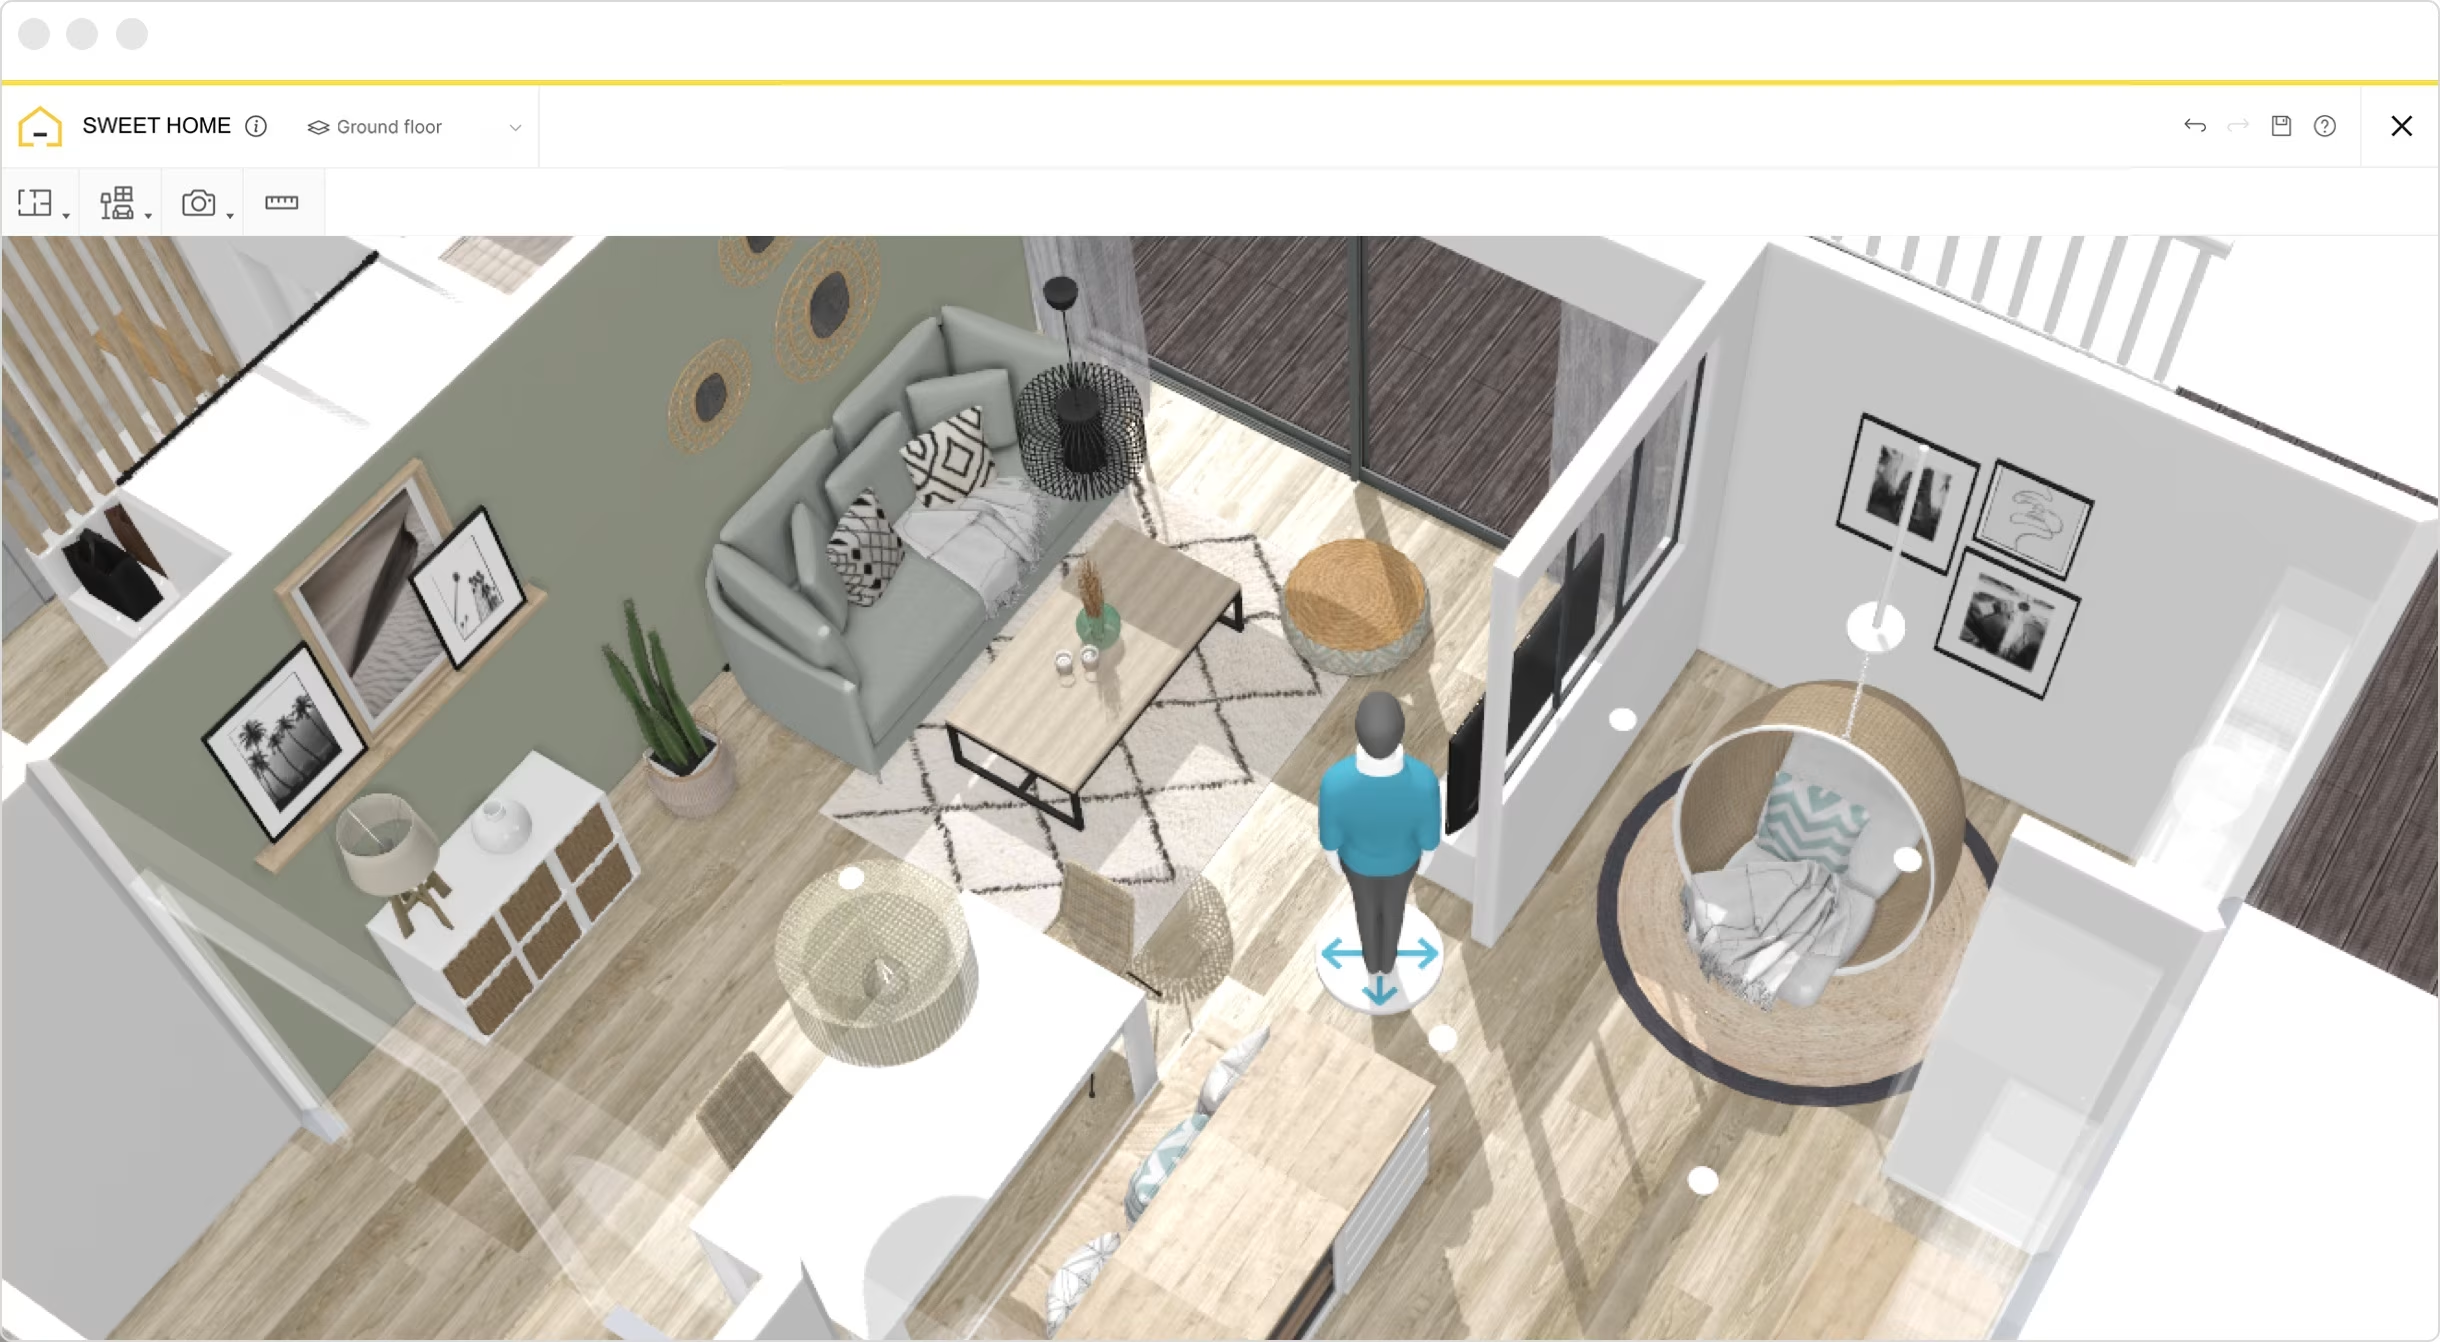
The Step-by-Step Process
Step 1: Define Your Goals and Gather Inputs
Every good walkthrough starts with clarity on the basics:
Who's the audience? Homebuyers, investors, or architects each need different emphasis.
What's the goal? Marketing, design refinement, or showcasing a commercial space.
What's the scope? A single room, a full home, or a multi-building complex.
What you'll need: architectural blueprints or 2D floor plans (CAD files work best), design specifications (materials, furniture style, lighting preferences), and brand guidelines if the walkthrough is for marketing use.
Step 2: Create a Storyboard
A storyboard maps the path viewers will take through the space, ensuring a logical flow that highlights the right areas in the right order.
Sketch the camera path (entrance → living room → upstairs, etc.)
Identify focal points to emphasize (a fireplace, a panoramic view)
Plan transitions between spaces
Decide whether interactive elements (clickable hotspots) are part of the scope
Step 3: Build the 3D Model
Using software like Autodesk 3ds Max, Blender, or SketchUp, the property is modeled from the floor plan — walls, doors, windows, and structural elements built to match the blueprint, with architectural details like staircases or built-in shelves added, and measurements scaled accurately to avoid unrealistic proportions. This stage is often the most time-intensive, since accuracy here affects everything downstream.
Step 4: Apply Textures and Materials
Textures make surfaces read as real — wood, marble, glass, fabric — rather than flat and artificial. Materials are chosen to match the design brief, applied so they reflect light naturally (glossy vs. matte finishes behave very differently), and furnishings are added to stage the space realistically.
Step 5: Set Up Lighting
Lighting does a lot of the work in making a space feel real and inviting. This includes natural light simulation (sunlight through windows), artificial lighting for interior fixtures, and careful attention to shadows and reflections using rendering tools like V-Ray or Lumion. Testing different times of day can meaningfully change how a space reads emotionally.
Step 6: Animate the Walkthrough
The camera path from the storyboard is animated into a smooth, continuous tour — with pacing calibrated so viewers can absorb each space without feeling rushed, and dynamic elements like zooms or pans used deliberately to highlight key features rather than as decoration.
Step 7: Render the Walkthrough
Rendering converts the 3D model into final output using tools like V-Ray or Corona Renderer. Format choice matters here — a straightforward video (MP4) suits most website and social use, while an interactive WebGL-based tour suits real estate platforms where a buyer wants to explore at their own pace. Rendering time varies significantly with project complexity.
Step 8: Add Interactivity and Polish
Optional final touches can meaningfully improve the experience:
Hotspots — clickable areas highlighting specific features
Virtual staging — digitally furnishing empty spaces
Sound design — subtle ambient audio for outdoor or lifestyle scenes
Branding — logo and contact information for marketing use
Step 9: Review and Revise
Share the draft with stakeholders and check: does the model accurately match the floor plan and brief? Is the camera path intuitive? Do textures, lighting, and furnishings read as realistic? Most projects benefit from at least one structured revision round before final delivery.
Step 10: Deliver and Promote
Deliver in the format that fits your use case — an MP4 for websites and social media, an interactive tour for real estate platforms or VR headsets, or a downloadable file for client presentations. From there, promotion follows the same principles as any strong content: share where your audience actually is, embed it prominently on your own site, and don't let it sit unused after the initial launch.
Common Challenges and How to Handle Them
Missing or incomplete floor plans. Work with the architect to clarify measurements, or use reference photos to reasonably estimate missing details.
Balancing quality and budget. Prioritize the spaces that matter most to your specific goal (usually the main living areas), and consider virtual staging over full custom furniture modeling to manage cost.
Long rendering times. Cloud rendering services and model optimization can meaningfully reduce turnaround on complex scenes.
Why Work With a Studio Rather Than DIY
Creating a genuinely polished 3D walkthrough requires real technical skill across modeling, texturing, lighting, and animation — a meaningful learning curve if you're starting from scratch. A studio brings established software workflows, experience across residential, commercial, and hospitality projects, and the ability to deliver reliably on a timeline. [Add real, verifiable details here — actual years in business, actual client examples with permission, actual typical delivery timeline — rather than the previous unverified figures.]
FAQs
What software is best for creating 3D walkthroughs? Autodesk 3ds Max, Blender, and Lumion are all industry-standard tools — the right choice depends on the specific project's needs and the studio's established workflow.
How long does it take to create a walkthrough? Timelines vary significantly with complexity and scope — get a specific estimate for your project rather than relying on a generic industry-wide figure.
Can I create a walkthrough without a floor plan? It's more difficult but possible using reference images or sketches to reconstruct approximate measurements.
Are 3D walkthroughs expensive? Cost varies significantly based on scope, level of detail, and interactivity — see our full pricing guide for a realistic breakdown.
Can a walkthrough be updated after it's created? Yes — the underlying 3D model can typically be revised to reflect design changes or new amenities without starting over from scratch.
Getting Started
Ready to create your 3D floor plan walkthrough? [Get a Quote →]
Book a discovery 20-minutes strategy call.
📞 +91-9910911696 | +91-9910660851
📩 info [@] chasingillusions [.] in
Written by Deepak, Architectural Walkthrough content strategist at Chasing Illusions Studio. Our clients include DLF, Emaar, Ganga Reality, Banner Boswell, Shapoorji Pallonji, EC World, Taj, Florida Hospital, etc., 100+ architectural companies across India, USA, Thailand, and the UK.
Last Updated: July 14 2026 | Chasing Illusions Studio
Chasing Illusions Studio
Premium animation & video production studio based in Delhi, India. Specialising in 3D animation, medical visualisation, architectural walkthroughs, and CGI.